While statistics compiled by the Insurance Institute for Highway Safety (IIHS) show that about half of all fatal crashes in the U.S. occur in the dark, and more than a quarter occurs on unlit roads, only 32 out of 165 new-vehicle models evaluated by the institute in 2018 achieved a ‘good’ rating, with 75 models assessed as marginal or poor.

To make matters worse, recent research by the AAA found that ‘clouded or yellowed’ polycarbonate headlights in aging vehicles only provide 22 percent of the illumination of new headlights – this decrease due to mechanical and chemical degradation caused by air pollution, road grime, and the various wavelengths of ultraviolet light. This degradation not only makes night-time driving dangerous, but in more extreme cases can render the vehicle unroadworthy.

See also: Best HID Headlight Conversion Kits

However, according to the AAA, revamping headlights using one of the best headlight restoration kits can return the illumination to approximately 70 percent of the original performance – at a fraction of the cost of replacing the units.

This explains the proliferation of professional and DIY headlight restoration kits. While the contents of the kits may vary, they will typically contain:

  • Multiple grades of abrasives, with ascending levels of grit, to remove the discolored top-layer from the headlight
  • Plastic Cleaner
  • Microfiber Cloth
  • Polish for buffing out fine scratches and smoothing the surface.
  • Many kits also include a UV-resistant coating that can be wiped or sprayed on.

Some kits are intended for use with power tools, in which case the abrasives, polish and cloth may come in the form of discs and pads designed for use with a drill.

See also: The Best Car Waxes To Protect Paintwork

With such a wide array to choose from, buyers can easily become bewildered when weighing up the most important features to look for in the best headlight restoration kits.

The Best Headlight Restoration Kits Reviewed

headlight restoring with orbital polisher

PROS

CONS

Headlight restoration kits are designed to be an affordable, less stressful way of rejuvenating one’s car’s headlights. This groundbreaking innovation employs some chemistry and offers drivers the opportunity to restore their headlights’ full capability without replacing the headlights with a newer set. The best kit, in general, to truly satisfy all these criteria is the 3M headlight restoration kit. It doesn’t just work for headlights alone; it also works for tail lights, indicator lights, and even fog lights.

The kit’s components help remove cloudiness and yellowness caused by oxidation from the lights’ surface in just five steps, thereby allowing the lights to shine through onto the road, much farther, with less resistance or filter. Each kit contains a pad holder for different discs, six sanding discs of 500 grit, four finishing discs of 800 grits, a refining disc, and one rubbing compound. All these components are best utilized with drill power. Discs are attached to the pad holder’s surface, and the pad holder has hooked up to the regular household drill of between 1200 and 1600 rpm. The sanding discs are first used on the headlights, then the finishing discs. The process is capped off with the refining disc and rubbing compound. The kit comes with masking tapes in them to use as outlines for the lights so that the surrounding paint is not damaged. The whole process is completed in roughly about an hour.

PROS

CONS

The G2000 headlight restoration kit is Meguair’s premium choice restoration kit. The kit is more expensive than many other generic kits on the market but is well worth its value. A unique feature of this kit that I like is that it requires no special tools and works in no more than two steps.

This kit is straightforward to apply. The cleaning pad provided is used to apply the cleaning solution, and the headlight surface is adequately scrubbed. After scrubbing, the surface of the headlights should have a uniform cloudy look. The cleaning solution’s medium wet coat should be added and left to dry for a few minutes. Lastly, the clarity headlight coating should be applied and left for optimum results.

PROS

CONS

The Rust-Oleum headlight restoration kit is the cheapest high-quality headlight restoration kit on the market. It is easy to use. In a few steps, the headlights only need to be wet, sanded, and polished. The Rust-Oleum’s specialized compound is added for finishing. This Nano-polymer specialized compound helps remove and undo changes caused by oxidation on the light’s surface. It protects the light for many years to come. The compound also protects the lights from UV light and weather changes. Once applied, it works speedily and dries completely in about an hour, although the lights have to be prevented from exposure to moisture for twenty-four hours after application. The application should be made in well-ventilated areas.

After application, the manufacturer claims the lights are good for another hundred washes. The kit can be applied to all external lights and not just the headlights alone. One towelette can serve to restore multiple lights. It is essential to tape all the edges of the lights before applying the content of the kit to avoid damage to the vehicle’s paintwork. The wipe-it substance starts to dry up immediately after opening, so it is wise to prepare all headlights before opening it.

PROS

CONS

This headlight restorer kit from Turtle Wax is another regular alternative with decent features and benefits. The kit comprises three sanding pads, all between 2400 and 8000 grit. The sanding pads help to smoothen out any scratches or unpleasant coloration caused by the weather. The sanding effect is complete when headlights appear cloudy or blurry. The kit also contains a lubricant, the rust-oleum clarity substance, and a sealing wipe. The lubricant and the rust-oleum clarity compound help clear off whatever blurriness or cloudiness is left on the surface of the headlights, while the sealing wipe helps to apply a sealing coat over the headlight surface to prevent further oxidation and weather degradation, promote durability.

One exciting thing about this kit is that it can be applied on multiple surfaces and not just headlights. Some other uses include restoring plastic, plexiglass, and different lenses. This makes it excellent as a household cleaner. This kit removes all oxidation and yellowing upon application, and the kit is fairly durable. The application doesn’t require any machinery or buffers.

PROS

CONS

The Sylvania headlight restoration kit is another market alternative that is easy to use, and much like the others, improves the functionality of vehicle headlights, making them appear as new. Typically, as time passes by, the surface of headlights develop a haze due to oxidation or weather effect, thereby impeding the full capability of the lights and tampering with the beam pattern. This product’s application quickly resolves such, giving drivers a farther range of vision with brighter lights at night.

The kit contains a surface activator that makes the plastic softer. Sanding will be much more difficult without this component. After applying the surface activator, the headlights need to be sanded and polished. The finishing coating material is used as a sealant and left to dry. The kit components are suitable for only two headlights, and they can be applied entirely in roughly thirty minutes. Sylviana boasts that the effect of the restoration kit lasts for the lifetime of the vehicle and, as such, offers buyers a lifetime warranty. The coating and finishing help to reduce glare by almost 70%.

PROS

CONS

This is an excellent product to own if you are particular about optimum headlight functionality as good old fashion headlight starts to drop in light quality and intensity due to corrosion and yellowness on their surface from weather degradation and oxidation. Mothers NuLens headlight restorer is quick and straightforward to use. It restores and preserves headlights and all other shiny plastics. I like the fact that on multiple objects other than headlights. The chemistry of the polish that comes with the kit comprises a nano polymer, which is what inhibits oxidation from taking place any further beyond application.

The kit comes with a backing plate about three inches in size, a tool for polish application, the polish, and the sanding discs. The content of this kit needs to be applied with a drill. A regular household drill will do.

PROS

CONS

The Cerakote headlight restoration kit is a specially designed and manufactured kit by Cerakote’s chemists. The lifetime warranty that Cerakote offers on this product particularly stands out. The company stands firmly behind its headlight restoration kit as an all-encompassing solution for dimmer and duller headlights. So their offer includes a replacement kit if the product doesn’t serve appropriately for the lifetime of the vehicle as they claim. The kit contains an automotive ceramic coating that chemically reacts with the headlight’s surface, preventing any further oxidation and protecting the headlight from ultraviolet rays.

The kit is sufficient, so buyers do not need to use any other external tools or substances that can potentially harm their vehicle or paintwork. Everything required for headlight restoration comes in the kit. Headlights are restored in as little as three steps. First, the oxidation surface remover is used to eliminate any oxidation on the surface of the headlights. Then, the prep pad is used for deep oxidation elimination. In the final step, ceramic coating wipes are used to treat the headlights for a complete restoration.

PROS

CONS

The Rain-X headlight restoration kit contains everything one needs to restore car headlights adequately. This product may not be the highest-ranking, but it gets the job done. In a few steps, the headlights are sanded, polished, and finished with a sealant, which further protects the lights. Yellowness and haze caused by oxidation and weather degradation are removed, causing brighter lights and better visibility at night for the driver. The kit comprises three sandpapers of varying grain types, a polish, cream which restores the lights, and towelettes to apply the sealant. The kit removes discoloration, restoring headlights to their automatic color. The kit is simple to use, so buyers can save a lot of money by not buying new lights and not having to spend money to get a professional, either to install new flights or to apply the restoration kit.

The kit ultimately improves the look of your car. However, some safety precautions need to be adhered to. The product content should not get into the eyes or be ingested. It should also be kept away from the reach of children. The Rain-X company has been around for about forty years, proving solutions to driver’s everyday problems, and as such, have a level of consumer trust. The Rain-X headlight restoration kit is another member of the family of successful products.

Shopping For The Best Headlight Restoration Kits

Even though many of the products found in these kits – such as the abrasives, sealers and Ultra Violet blockers can be purchased separately over the counter, it is far easier to purchase a complete kit.However, to gain the full benefit of a headlight restoration kit it is important that the consumer select a product that best suits the specific application.Despite the seemingly endless range of features advertised by the many manufacturers promoting their products in the marketplace, the consumer needs to look for the following information when evaluating the best headlight restoration kits:
  1. Does the kit suit the headlight condition? Severely discolored headlights with significant surface damage will need more restoration. In cases like this, it is advisable to opt for a heavy-duty kit, such as 3M’s highly acclaimed general Headlight Lens Restoration System, that includes additional restorative materials and allows for drill-activated sanding to provide maximum clarity.On the other hand, if the headlight is only slightly discolored because of road grime or pollution, rather than UV degradation and mechanical damage, a cheaper single application product may suffice.
  2. Single- versus multi-stage kits. Even though a one-step process may sound promising, these kits typically only contain a cleaning solution. So, while these may work on lightly contaminated lenses, they really don’t address the root cause of the discoloration, namely the deterioration of the plastic surface. Multi-stage kits also include abrasives, and even Ultra Violet protectors and polishes. This comprehensive approach makes a huge difference to the quality and longevity of the headlamp restoration.
  3. Comprehensive kit content. Very often this is what sets the best headlight restoration kits apart from the rest: Higher-quality kits tend to include everything required for the restoration, including cleaning and sealing solutions, gloves, towel, and several grades of sandpaper. And although one may expect to pay more for such a comprehensive kit, there are many manufacturers that supply products that are very reasonably priced – take for instance Rust-Oleum’s HDLCAL best priced Wipe New Headlight Restore, that comes complete with a ‘Wipe-It’ packet, headlight polishing pad, microfiber cloth, and a pair of gloves.
  4. Manual- versus tool-restoration process. The choice of restoration method really makes no difference to the quality of the end result. The use of a drill or sander can, however, make the work easier if the lens is severely damaged requiring more intensive rectification.
  5. How easy is the kit to use? Even though most headlight restoration kits are fairly easy to use, it is nevertheless worth reading the instructions to make sure the application requires no special skills or equipment.There are also kits – for example this review’s premium choice, Meguiar’s G2000 Perfect Clarity Two Step Headlight Restoration Kit – that are specifically aimed at simplifying the process by reducing the number of steps.
  6. Does the kit come with a UV-blocker? This is definitely something that a good headlight restoration kit should include. Treating the lens with a UV-blocker cuts down on maintenance and slows down the yellowing, oxidization, and clouding process – especially in harsh climatic conditions.
  7. Be wary of lens-specific products. Be on the lookout for kits formulated for specific lens material-types. Although headlights are usually made from some type of polycarbonate plastic, the exact chemical compositions can vary. Thus, unless the composition is known it is better to stay away from specialist products.
  8. Pricing. The relatively low cost of these restoration kits means that pricing really does not play a significant part, however, it is always worth equating features to the product’s price when comparing different brands. Even though kits may vary in price, ease of use, and effectiveness – with some requiring power tools – the best headlight restoration will usually require several steps to complete the work.

The Best Headlight Restoration Results

Headlights restoration process - before and after difference

It is best to tackle headlight restoration when weather conditions are dry, this makes the application of any compounds a little easier.

Headlamps that are badly discolored and scratched or pitted will require more sanding to remove the damaged top layer, but in general, the basic methodology remains the same:

  • Clean the lens with either water or ordinary household cleaner to remove surface dirt.
  • Using abrasive paper remove the damaged surface layer. This is usually done using progressively finer abrasives that finally buff the lens to a smooth finish – typically 500-, 800-, 1000-, and finally 3000-grit.
  • Once the hard surface layer has been removed and smoothed down, a polishing compound is normally applied, preferably with a microfiber cloth.

Although many kits end with this step several of the best headlight restoration kits have one or even two further steps:

  • Some kits include a sealer, which can be applied with a microfiber cloth.
  • In many restoration kits the final step consists of applying a UV sealant. Whether it comes with the kit or not, UV protection is the best defense against untimely oxidation.

NOTE: While these are typically the steps to follow, when restoring discolored and damaged headlights, it is always advisable to follow the manufacturer’s instructions.

Even if the process is quite straightforward there are bound to be unanswered questions, which the following section seeks to address.

See also: 12 Best Bright LED Bulbs

With more and more vehicles being equipped with headlights with polycarbonate lenses it is likely that headlamp refurbishment may become commonplace, it is therefore important that the consumer is well informed about how to select the best headlamp restoration kit. Choosing and successfully applying the correct restoration kit is not only critical to safe evening travel, but by improving the appearance of the vehicle, also enhances the resale value.

Removing the damaged and discolored surface layer can bring about a significant improvement in night time visibility. The improvement will largely depend on the level of damage the lens incurred before the restoration, but could be as high as 95 percent.

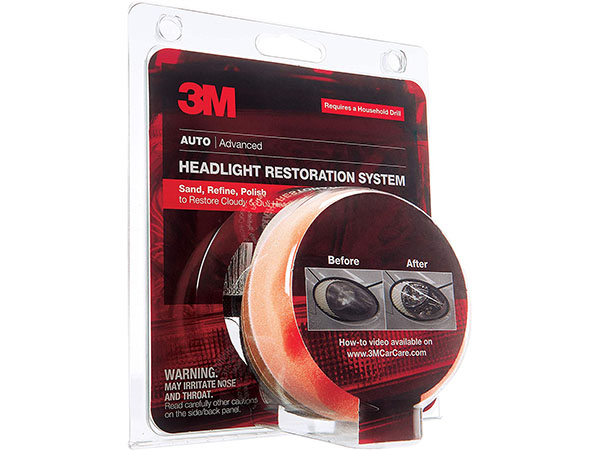
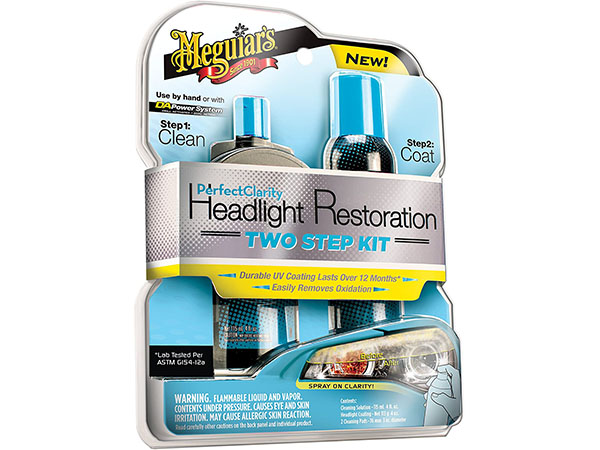
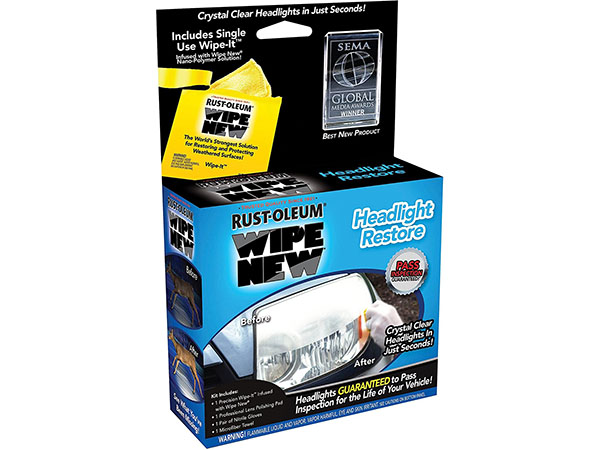
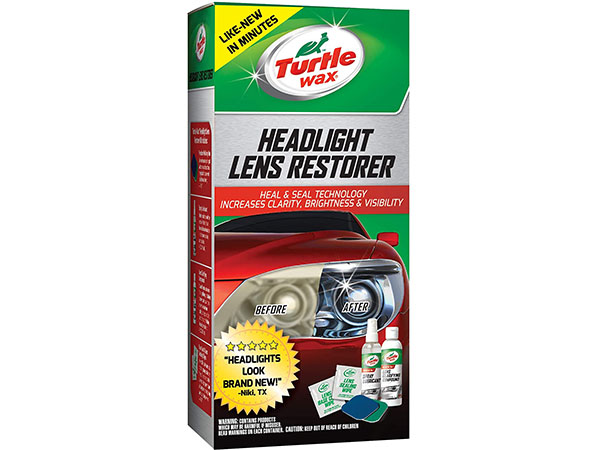
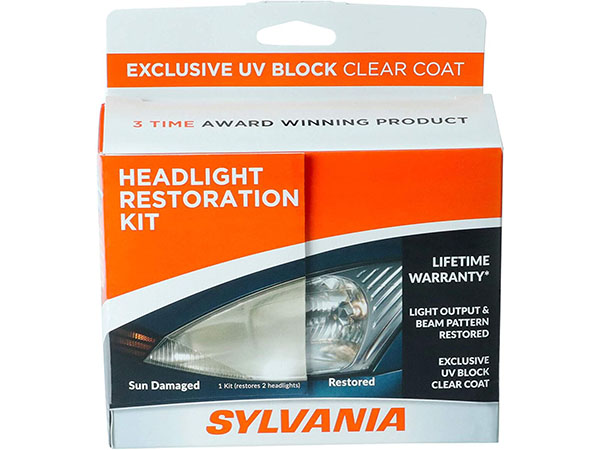
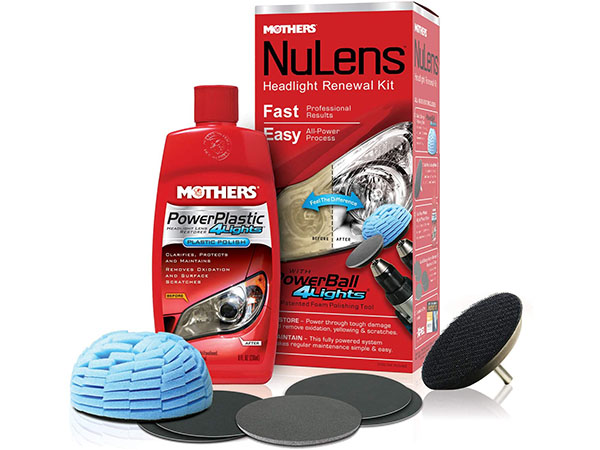
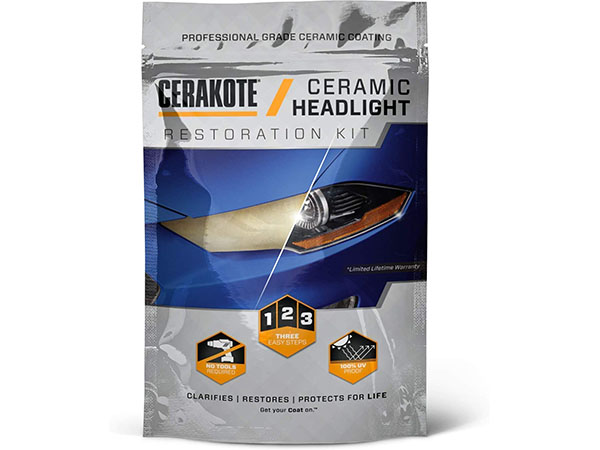
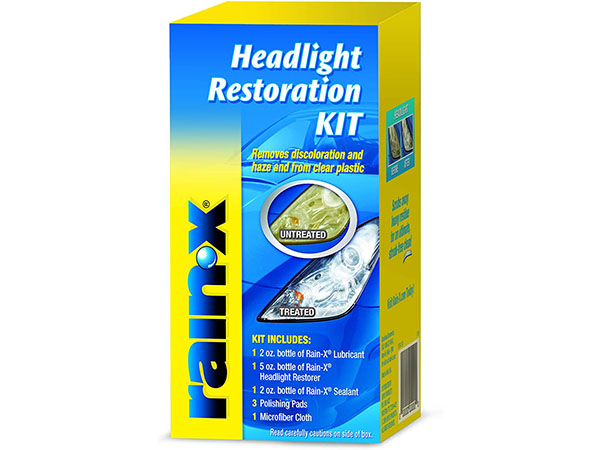
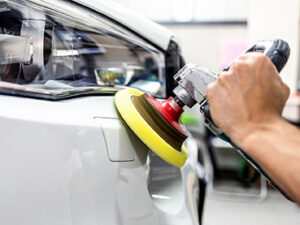
While there is no definitive answer to this question, under normal conditions once a year should suffice. However, in extreme climates where the vehicle is subjected to harsh sunshine for extended periods, or if the vehicle is regularly driven on gravel or heavily salted roads, restoration could be carried out when the lenses become discolored or show visible signs of pitting.

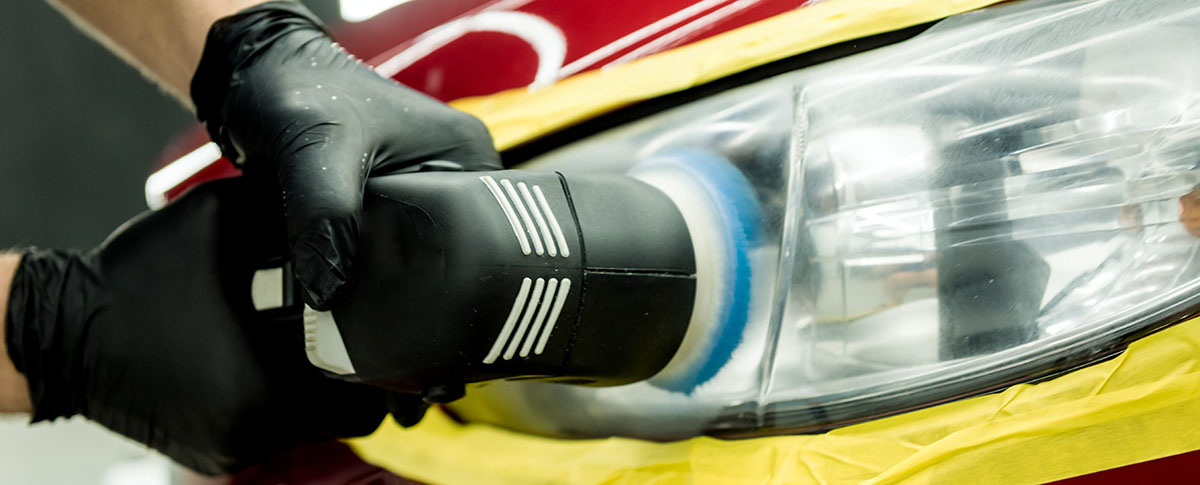
It is important to note that, because the headlight restoration process includes resurfacing the lenses by removing material, unnecessary treatment should be avoided.

Typically, headlight restoration treatments can last for between 10 months and 3 years depending on several factors such as the type of lens, the restoration process, environmental circumstances, and the operating conditions the vehicle is subjected to.

Treating the lenses with UV-blocker and regularly washing the headlights will extend the life of the treatment.

There are several factors that can lead to headlights becoming cloudy or yellow. Many of these stem from the environment – including exposure to high levels of UV light – in which the vehicle operates. But discoloration can also be a consequence of infrequent maintenance, when the vehicle is subjected to salty ocean air, high humidity, or road grime. We recommend using the car care products, take them into account, for better car paintwork and body components conditions.

We do an efforts to find, research and recommend the best products. So, we may receive commissions from purchases that you make after following the links in our product reviews.